Subfleets / TAGS
Dividing your fleet into Subfleets (using Tags) allows you to group specific vehicles together and assign users to monitor them. This ensures team members only see and manage the vehicles relevant to their role.
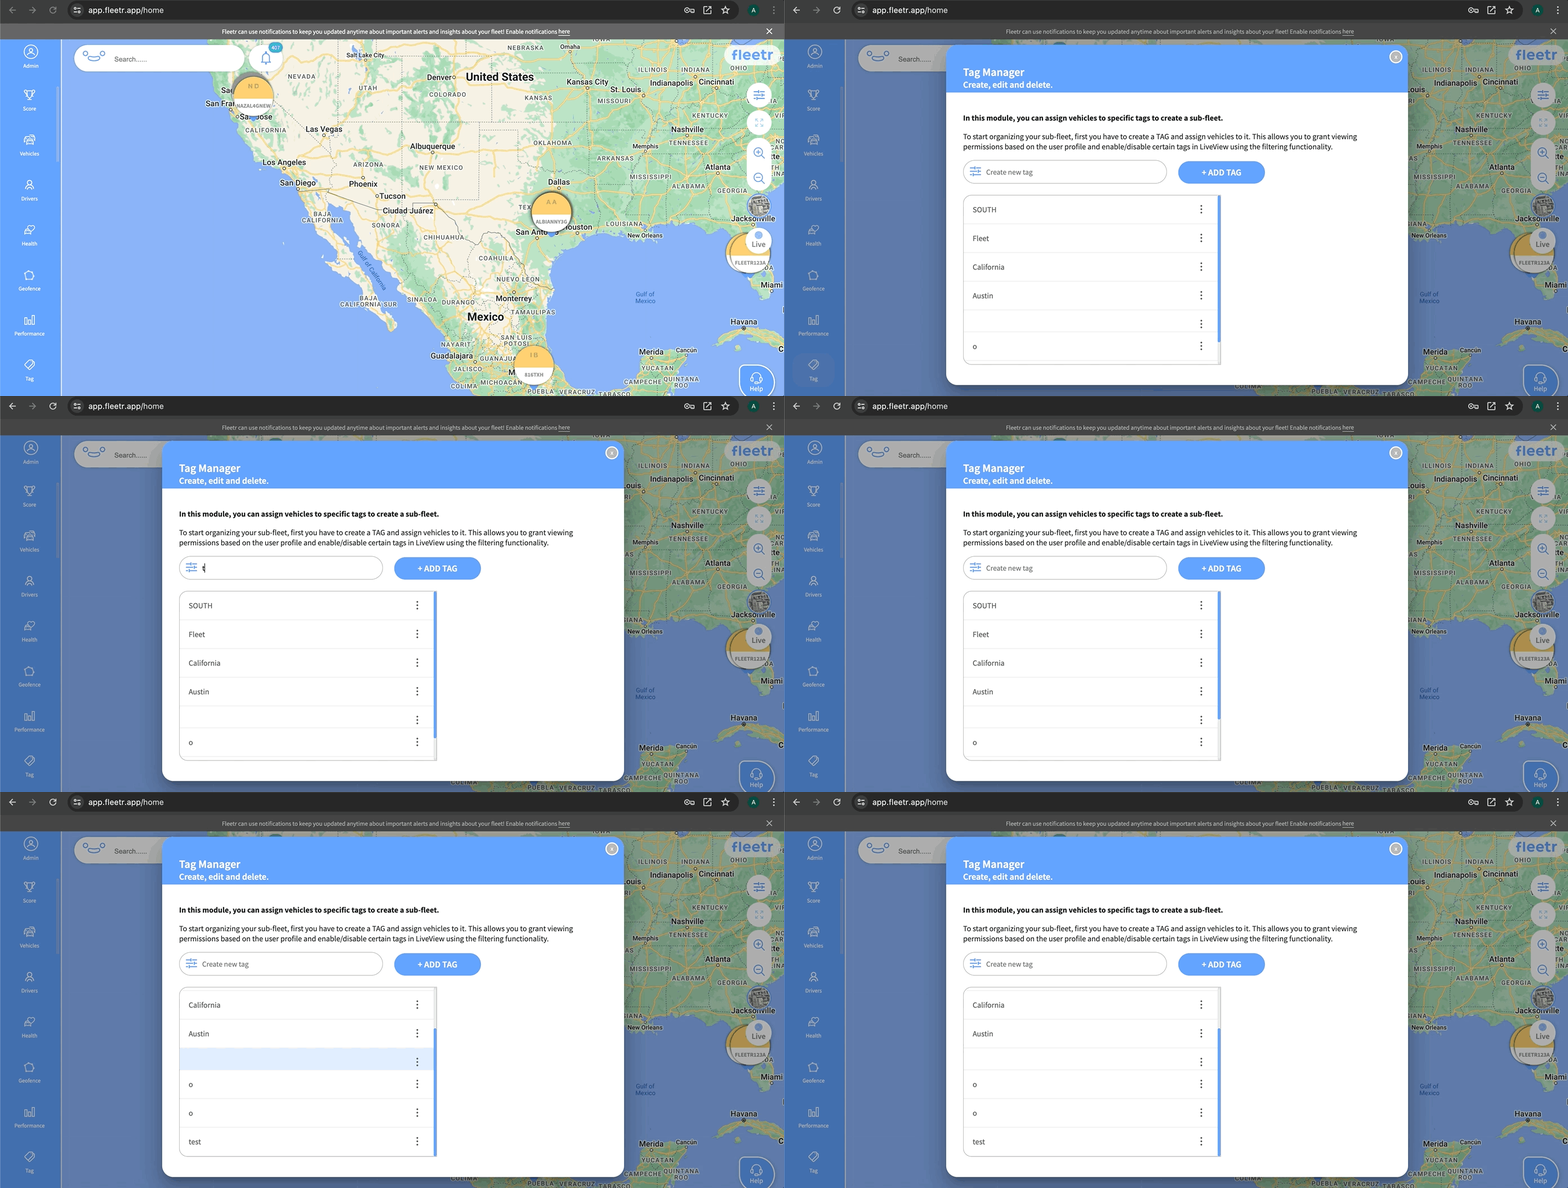
1. Creating Tags & Assigning Vehicles
Before you can assign a Subfleet to a user, you must first create a Tag and assign vehicles or asset trackers to it.
Open the Tag module from the left-side navigation panel.
Enter a name for your tag (e.g., "Test") and click to add it.
Click on the newly created tag from your list.
Select and add the specific vehicles or asset trackers you want associated with this tag.
 2. User Roles and Visibility
When adding or editing a user, you can assign them specific Tags to limit what they can see. A user will only be able to view the vehicles associated with their assigned Tags; they cannot see vehicles or fleets assigned to someone else. If users are not assigned a tag, they will have access to the entire fleet.
You can also assign one of two permission levels:
Admin: Can view and edit information (such as drivers and geofences) for their assigned Subfleet. (Note: Admins cannot delete other administrator profiles).
View Only: Can monitor their assigned Subfleet but cannot make any edits or changes.
3. Assigning Subfleets to Users
Once your Tags are created and populated with vehicles, you can assign them to users:
Navigate to Admin → User Management.
Add a new user or select an existing user to edit.
Choose their permission level (Admin or View Only).
Assign the appropriate Tag(s) to the user to define their Subfleet.
Save your changes.
4. Filtering by Subfleets
Once your Subfleets are configured, you can easily filter your vehicles directly from Live View.
When you apply a Subfleet/Tag filter in Live View, that filter applies globally across the entire application and all of its modules, not just the map.